

Finishing the Tiny House Subfloor
- Aug 7, 2015
- 1 min read

After a lot of obstacles and distractions, and only being able to get out to my build site about half as much as I'd hoped, the subfloor took me a bit more time than I'd expected it would. Drilling into my trailer proved to be incredibly time consuming, and I'm hoping that the next leg of construction, building the frames for my walls, won't go as slowly.
Despite being a touch behind schedule, I'm still feeling incredibly positive, and although work has been slower than I'd assumed, it's been much simpler. Here's a breakdown of what it's taken:
Attaching 2x4s to the entire perimeter of the trailer (save for the wheel wells), and between porch joists.


Next, 3 inches of insulation (2 inch layer of unfaced, with a 1 inch layer of faced) cut to fit into the trailer bed, using spray insulation foam wherever there were gaps. Finally, taped into place with sill tape:
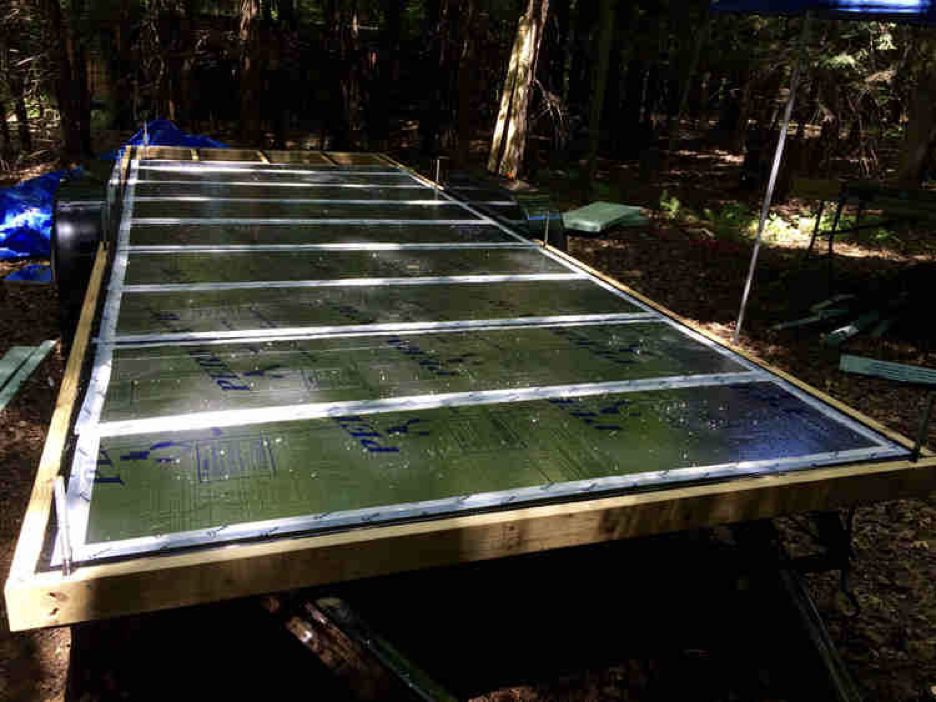
Then the actual subfloor! I cut 3/4 inch plywood to size, drilling holes for the threaded rods, and screwed into place:

Yay! I'm quite excited to get started on the walls, and have this bad boy feeling like an actual structure! More to come : )


Comments